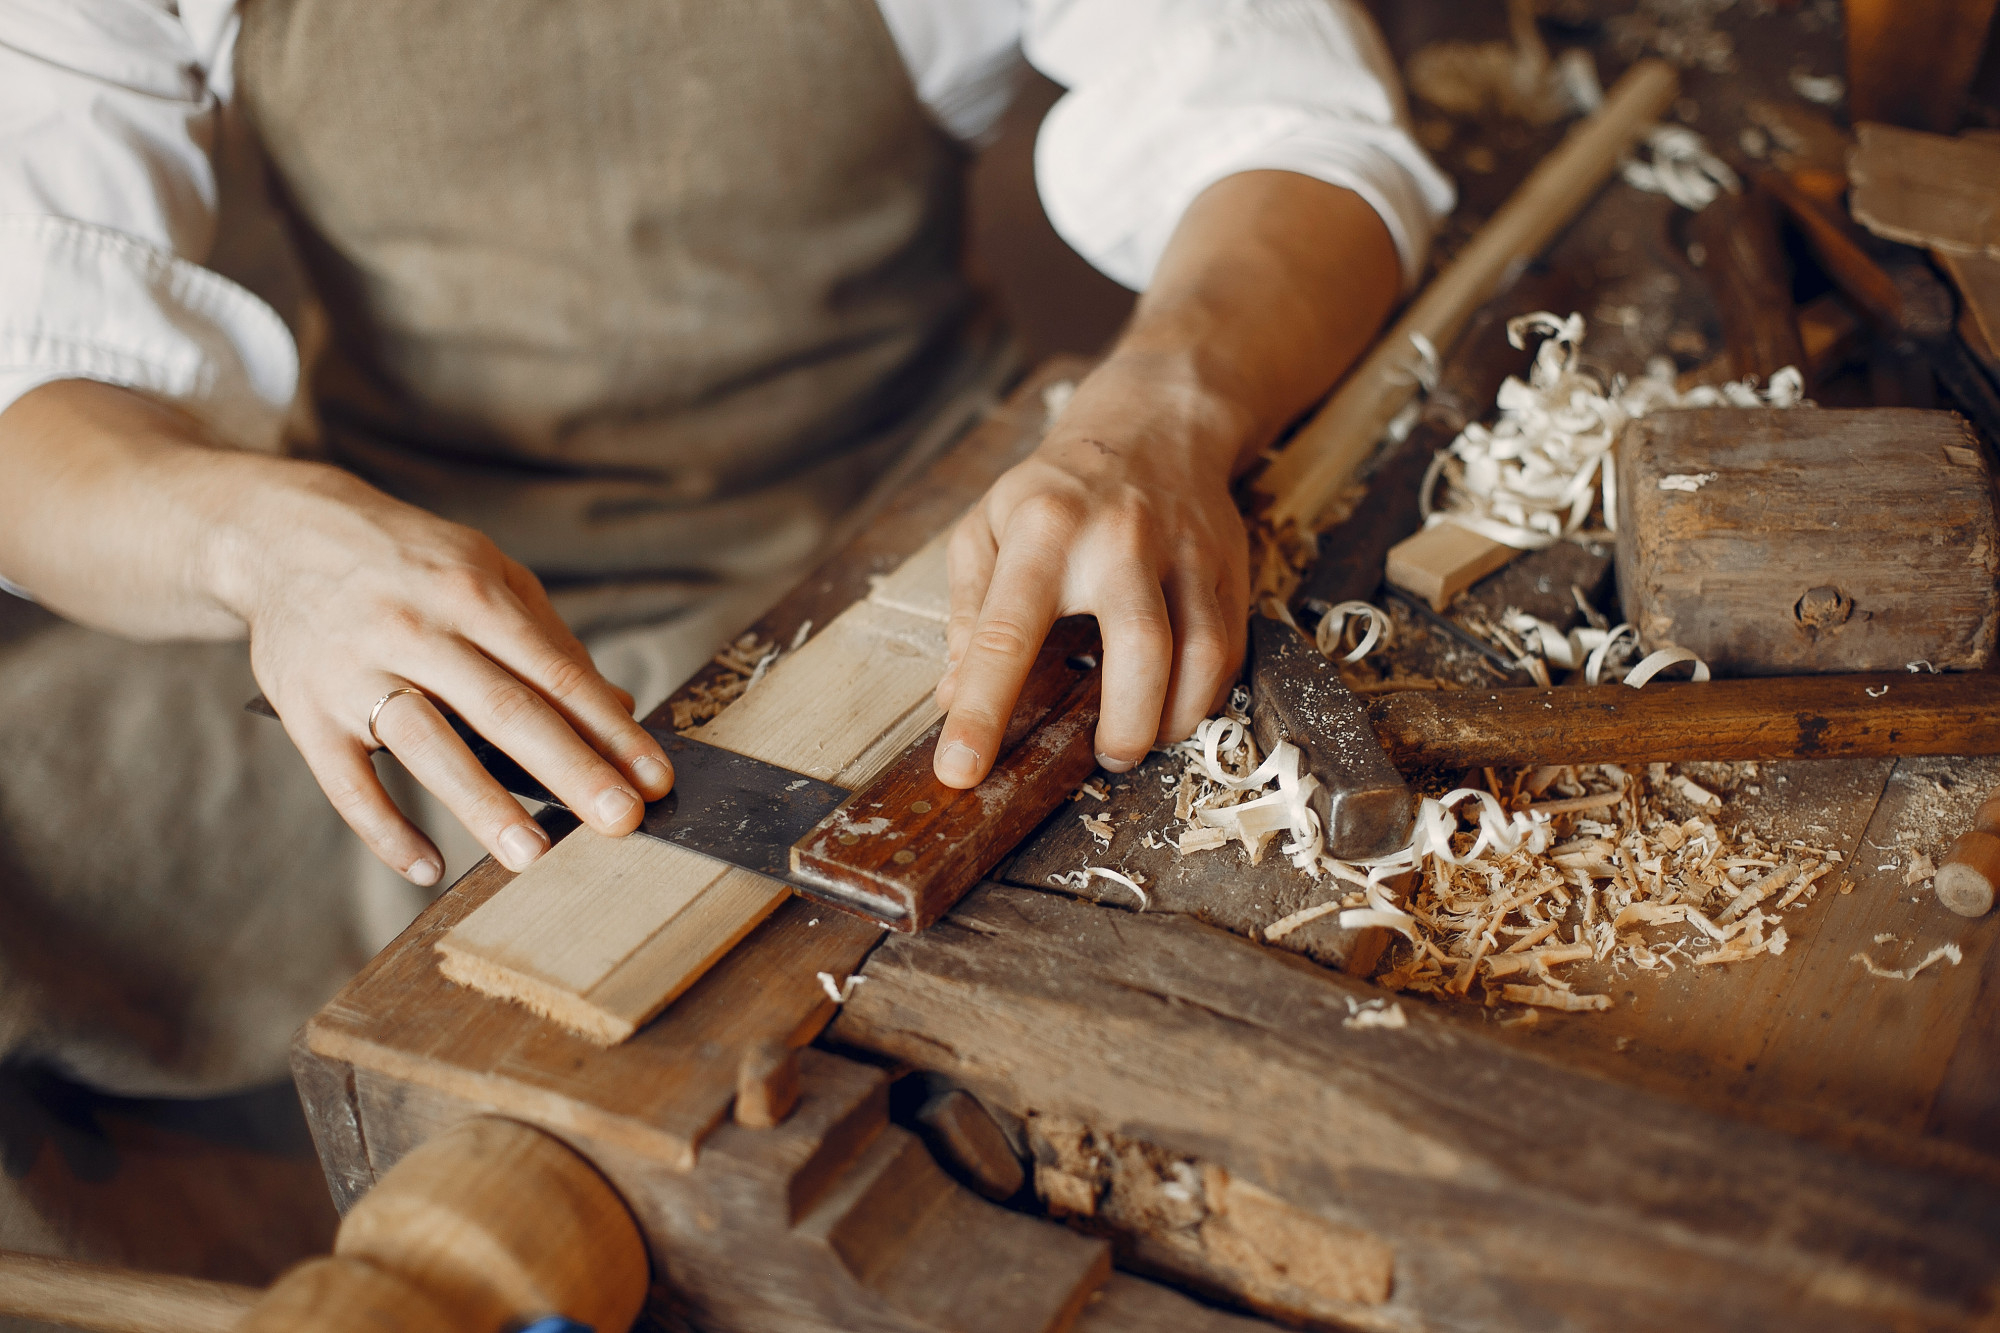
As modern design trends evolve, feather edge cladding has stood the test of time. This earns its place as a sought-after choice for residential and commercial projects.
In this blog, we’ll uncover its origins, features, and installation process. Read on and discover how it elevates buildings from mere structures to works of art.
Understanding Cladding Basics
Cladding refers to the external layer or covering that envelops a structure. It acts as a protective shield against environmental elements while enhancing visual allure.
The primary functions of cladding are twofold:
- Provides weather protection, safeguarding the building from rain, wind, and temperature fluctuations. Thus increasing its durability and lifespan.
- It plays a role in a structure’s aesthetic aspect, influencing its appearance and style.
Various types of materials are used in construction. Popular options include timber cladding, metal, vinyl, and fibre cement.
Introducing Feather Edge Cladding
Feather edge exterior cladding is distinguished for its timeless rustic charm. This architectural style involves overlapping horizontal boards that taper towards one edge. It creates a visually appealing feather-like effect, as the name suggests. This cladding type is mostly crafted from wood, adding a touch of natural warmth to any structure.
Originating from traditional timber frame buildings, it has a rich history. It was a practical choice in regions with abundant wood resources. This is mainly due to the overlapping design, enhancing weather resistance and insulation.
The advantages of feather edge cladding extend beyond its historical significance. Its unique design allows for natural rainwater runoff, preventing water damage and rot. Moreover, the overlapping boards create an extra layer of insulation. This contributes to energy efficiency and reduced heating costs.
Its characterful aesthetics also add sophistication to traditional and modern architecture. This makes it a favoured choice for those seeking a blend of elegance and functionality.
Pros and Cons
Feather edge cladding boasts several noteworthy advantages. To start, its natural weather resistance ensures long-lasting durability. It shields buildings from harsh elements like rain, wind, and sun exposure. The overlapping design of the boards effectively repels moisture, to add. Such protection helps reduce the risk of rot and decay.
Next, feather edge cladding offers exceptional durability due to its sturdy wood construction. It can withstand the test of time and requires minimal maintenance. Overall, this makes it a cost-effective investment in the long run.
However, there are a few considerations to keep in mind. Regular maintenance is essential to preserve the cladding’s appearance and performance. Periodic painting or staining helps protect the wood and maintain its aesthetics.
Moreover, the initial cost of feather edge cladding can be higher. But the long-term benefits often justify the investment.
Feather Edge Cladding Installation Process
Here’s a step-by-step installation process for feather edge shed cladding:
Step 1: Prepare the surface
Ensure the underlying surface is clean, dry, and level. Fix any damaged areas and apply a weatherproof membrane for added protection.
Step 2: Start at the bottom
Begin installing the feather edge boards at the bottom of the structure. Secure them with corrosion-resistant nails or screws. The tapered edges should overlap, allowing rainwater to flow downward.
Step 3: Work upward
Continue installing each row of boards. Ensure a consistent overlap and maintain level horizontals. Use a spirit level to check accuracy.
Step 4: Corner and edging
For corners, carefully mitre the boards to create a seamless join. Add edge trims to protect vulnerable edges and enhance aesthetics.
Step 5: Finish and treat
Once all boards are in place, apply a weather-resistant finish or paint. Doing so will seal the wood and prolong its lifespan.
Tools and materials
- Feather edge boards
- Corrosion-resistant nails/screws
- Weatherproof membrane
- Spirit level
- Saw for cutting boards
- Nail gun or hammer
Practical tips and best practices
- Pre-drill nail holes to prevent splitting.
- Leave a small gap between boards for natural expansion and contraction.
- Treat cut ends and any exposed wood to enhance weather resistance.
- Regularly inspect and maintain the cladding to prevent deterioration.
Maintenance and Care
With these care tips, you can protect the integrity and appearance of your cladding:
Regular cleaning
Periodically clean the cladding using a soft brush and a mild detergent mixed with water. Avoid high-pressure washers, as they may damage the wood surface.
Repainting
Repaint or re-stain the cladding’s protective finish every few years to keep it intact. Sand the surface lightly before applying a fresh coat to ensure optimal adhesion.
Addressing rot
Inspect the cladding regularly for signs of rot or decay. If you notice any, remove the affected boards as soon as possible. Then, replace them with new ones to prevent further damage.
Pest Prevention
Apply wood preservatives or insecticides to deter pests and termites. Check for signs of pest activity, such as small holes or wood shavings. Take appropriate measures if an infestation is detected.
Ventilation
Ensure adequate ventilation behind the cladding to prevent moisture buildup. This will help reduce the risk of rot and mould.
Round-up
Feather edge cladding is a true embodiment of timeless elegance and functionality. It’s worth considering whether you wish to enhance your shed cladding or go for an ambitious architectural venture.
Discover a World of Possibilities at TimberX! Beyond meeting your wooden cladding needs, explore our incredible timber products. Find exactly what you’re searching for and elevate your projects to new heights!
