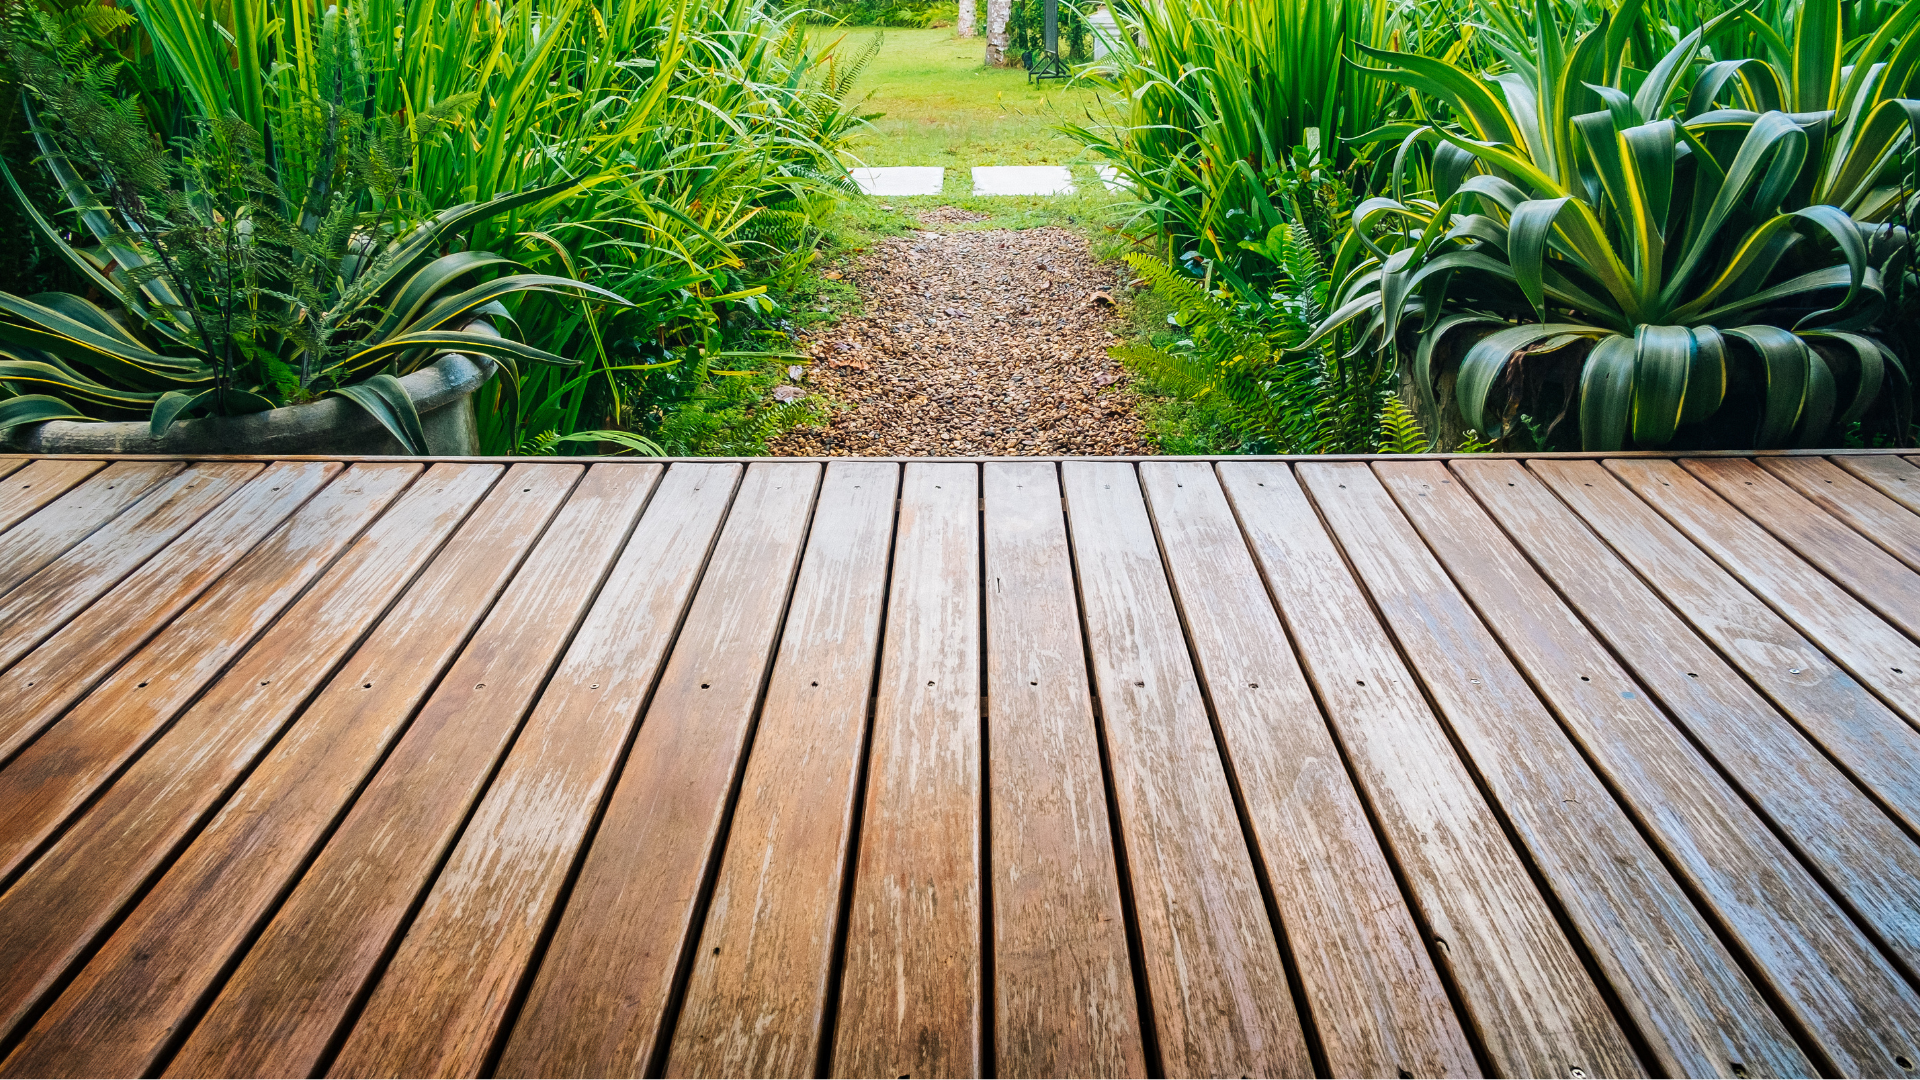
As the heart of countless memorable gatherings, your deck deserves the best care. Cleaning not only revitalises its appearance but also safeguards it against the elements.
In this guide, we’ll walk you through the proper steps on how to clean your decking wood with effectiveness. Prepare to uncover the secrets to a deck that’s not only stunning but also built to withstand the tests of time!
1. Gather your supplies
To embark on your decking timber cleaning journey, arm yourself with:
- a broom
- a soft-bristle brush
These tools swiftly whisk away debris, ensuring a clear canvas. A mild detergent mixed with water acts as your gentle yet effective cleanser. A trusty garden hose aids in rinsing off the cleaning solution, leaving no residue behind. Should you encounter stubborn dirt, a power washer on low settings might come to the rescue.
2. Clean the deck
By creating a blank canvas, you set the stage for a deep and thorough cleaning. Clear the outdoor timber boards of all furniture, plants, and debris. This step guarantees an efficient cleanup session. It also allows you to access every nook and cranny of the wooden surface.
3. Sweeping and dusting
Sweeping the deck spaces liberates the surface from loose dirt, leaves, and debris. This preparatory step not only ensures a cleaner canvas for the main cleaning. It also prevents abrasive particles from scratching the wood during scrubbing.
For those hard-to-reach corners and intricate areas, a soft-bristle brush becomes your ally. With one, you can dislodge any particles without causing damage.
4. Scrubbing
For stains or mildew spots, a blend of water and vinegar or a purpose-made deck cleaner can work wonders. Apply this solution directly to the affected areas. With a soft brush in hand, embark on a patient yet persistent scrubbing journey. Gently work the solution into the stain, allowing it time to break down.
Emphasise a light touch – the goal is to lift the stain, not harm the wood. Exercise restraint, avoiding excessive pressure to prevent unintentional damage. This approach, while requiring patience, ensures your deck emerges spotless and unscathed.
5. Rinsing
After the scrubbing process, give your deck a thorough rinse with a garden hose. This step effectively washes away any lingering traces of detergent or cleaning solution. It prevents any potential residue buildup, to add. This, all in all, ensures your deck is left immaculately clean, ready to reveal its natural beauty.
6. Drying
Patience at this stage ensures your cleaning efforts aren’t in vain. Let your timber decking boards air-dry fully. This is paramount before reintroducing furniture or accessories. This practice prevents moisture from being trapped between surfaces. Moreover, it thwarts potential moisture-related problems like warping, mould, or rot.
7. Optional: Power washing
If you own a power washer, tackling deeply embedded dirt or stubborn stains is achievable. Set the washer to a low-pressure mode to safeguard your wood decking boards’ integrity. Begin by holding the nozzle about 2 feet away from the wood, then gradually approach the surface.
Caution is key – excessive pressure can mar the wood. Prior to diving in, test the power washer on an inconspicuous corner to gauge its impact. With care, this tool can rejuvenate your deck’s look while preserving its structure.
Round-up
In wrapping up our cleaning journey, remember that this isn’t just about appearance. But it’s about nurturing a space that’s witnessed countless memories, a.k.a. your garden deck. By following these steps, you’re not only restoring your wooden decking boards’ allure. Additionally, you’re also ensuring their longevity.
As you bask in the beauty of your cleaned deck, take pride in knowing you’ve safeguarded a cherished haven! And when the time comes for an upgrade, our timber decking boards are worth considering.
Browse through our TimberX products for more, including shed cladding and roofing battens. Don’t miss out on our guide to ‘What Wood Is Best for Cladding?’ for extra knowledge!
