Over time, wear and tear can take a toll on your wood cladding. This can lead to issues like warping, sagging, or even water damage if overlooked. Fear not; we are here to equip you with effective tips to tackle these problems head-on!
In this blog, we will focus on three popular cladding types:
- Tongue and Groove
- Shiplap Cladding
- Feather Edge Cladding
Join us as we walk you through fixing each type of cladding effectively.
Preparing for the Fixing Process
Safety should always be the top priority when working with timber cladding. Before starting any project, ensure you have the right protective gear. This includes gloves, safety goggles, and appropriate clothing. Also, work on a stable and secure surface to prevent accidents.
Having the right tools and materials is essential for a successful result. Gather nails, screws, a hammer, a spirit level, a saw, measuring tape, and a chalk line. A cordless drill will speed up installation and ensure a secure fit.
To avoid wastage, accurate measurements are crucial. Begin by calculating the total surface area to be clad, accounting for doors and windows. Always add a bit extra to account for any errors or wastage.
If using multiple cladding pieces, arrange them to minimise cutting and material loss. Proper planning ensures a cost-effective and environmentally friendly project.
Fixing Tongue and Groove Cladding
Fixing T&G cladding requires careful attention to detail for a flawless installation. Follow these step-by-step instructions:
Step 1: Prepare the surface
Ensure the wall is clean, dry, and free from any debris or existing cladding. Repair any damaged areas and apply a weather-resistant barrier or insulation if needed.
Step 2: Attach the first board
Start at the bottom of the wall and place the first board horizontally. The groove must be facing downwards. Use galvanised nails or screws to secure it into the studs, ensuring it is level and plumb.
Step 3: Interlock the next boards
Slide the tongue of the next board into the groove of the first one at a slight angle. Gently push it downward and into place, creating a tight fit. Use a rubber mallet if necessary to avoid damaging the wood.
Step 4: Ensure a tight fit
Continue interlocking the next boards, ensuring each fits snugly against the previous board. Check for levelness and straightness regularly, adjusting as needed.
Step 5: Secure properly
To prevent warping or sagging, avoid overdriving nails or screws. Leave a small gap between boards to accommodate expansion and contraction. Secure the boards at the studs, placing fixings at an angle through the tongue to hide them.
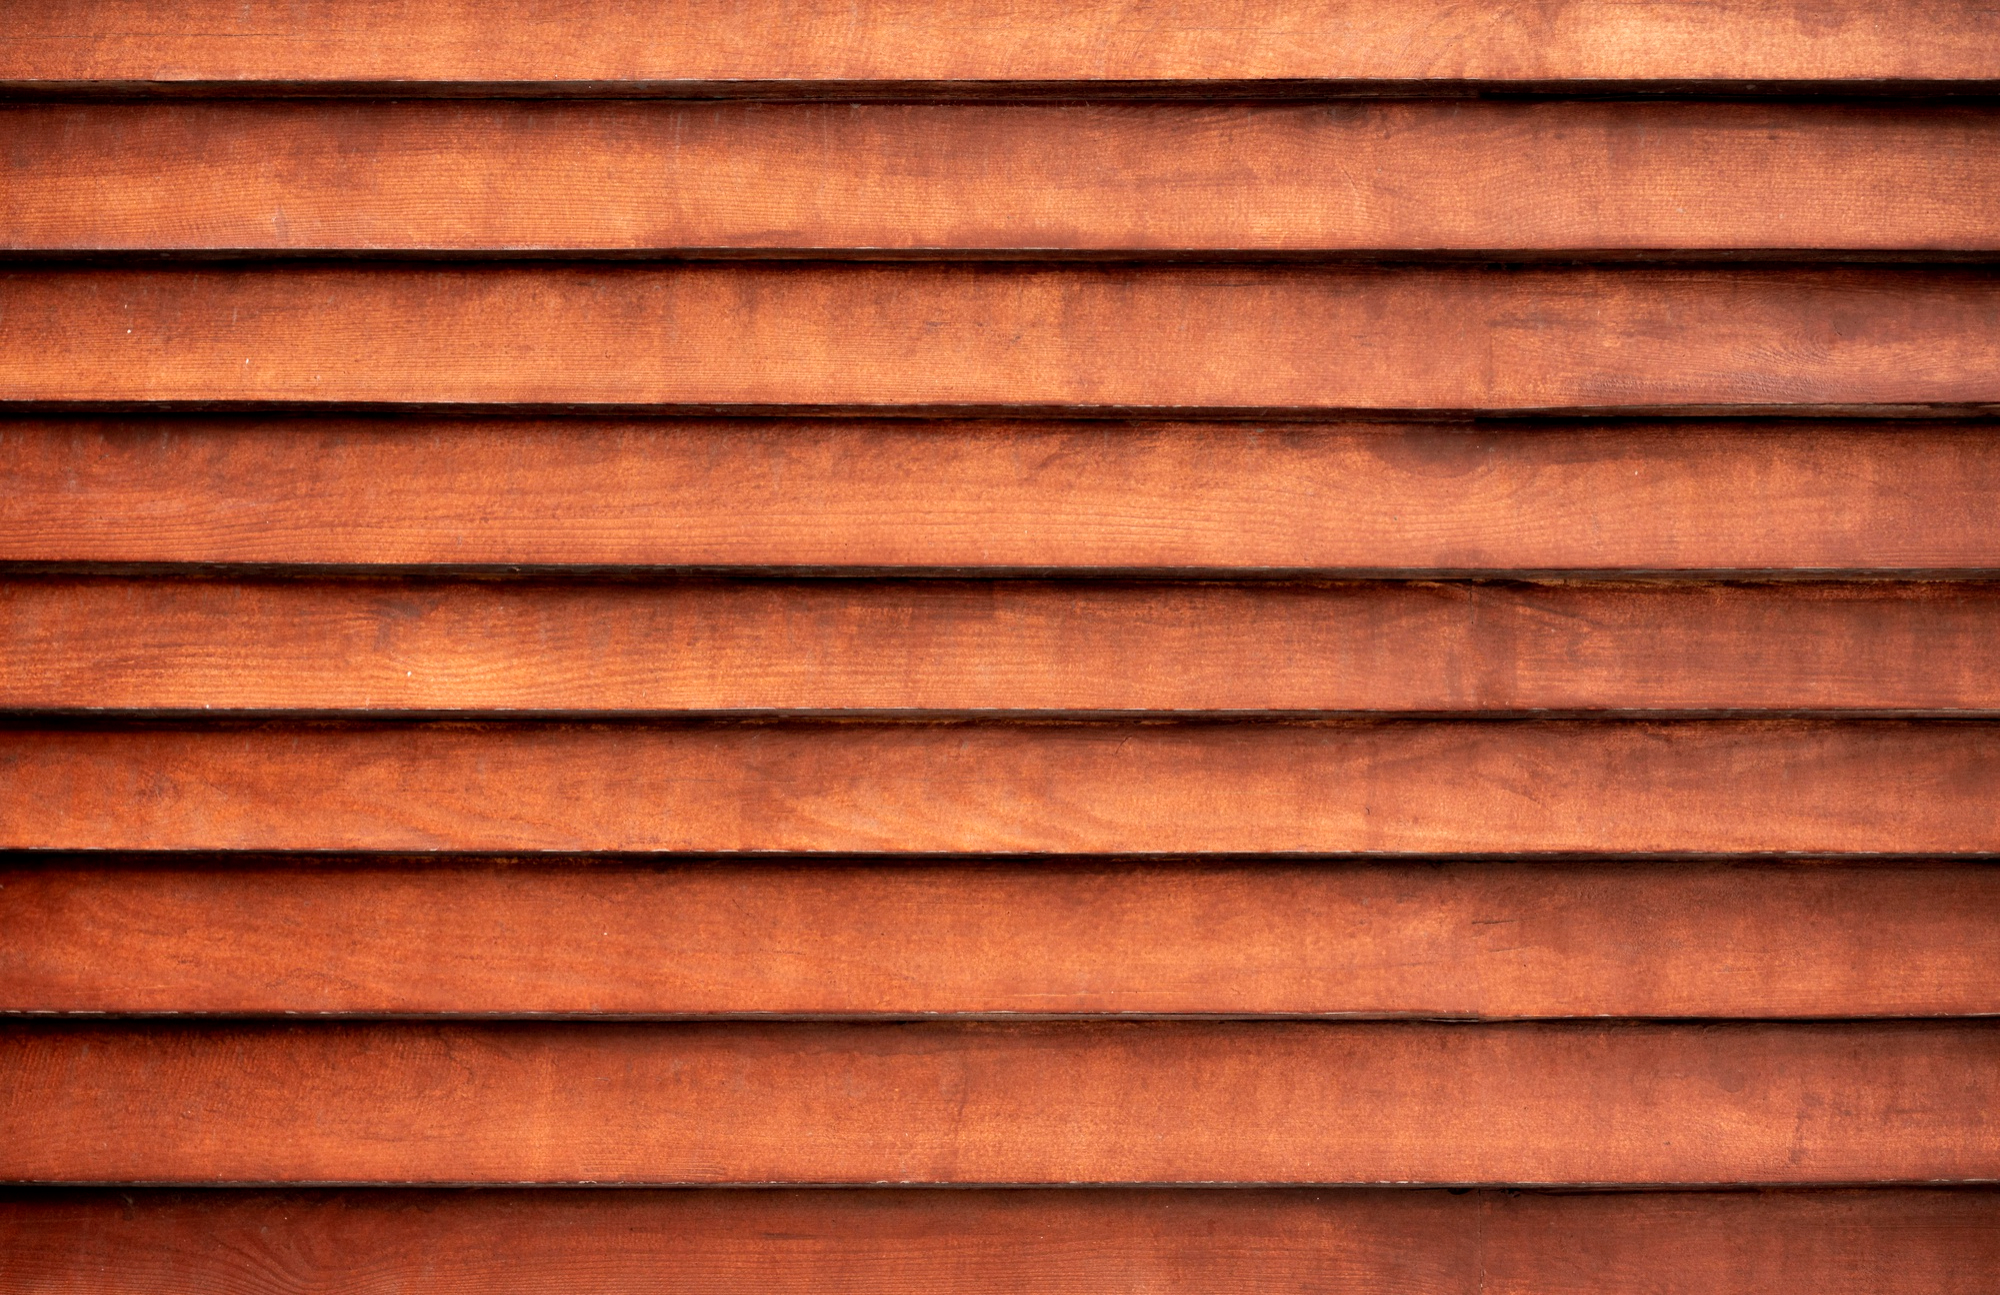
Fixing Shiplap Cladding
Fixing shiplap cladding involves creating a distinct horizontal overlap. Here are the step-by-step instructions to guide you through the process:
Note: The first two steps are identical to tongue and groove cladding installation.
Step 1: Prepare the surface
Ensure the wall is clean, dry, and well-prepared. Remove any existing cladding or debris and repair damaged areas.
Step 2: Attach the first board
Start at the bottom of the wall and fix the first board horizontally with screws or nails. Ensure it is level and plumb.
Step 3: Overlap the boards
For the overlapping effect, place the next board over the first board’s top groove. Secure it with fixings through the top edge. This will allow the bottom edge to create the desired overlap.
Step 4: Spacing
Maintain even spacing between the boards to ensure an aesthetically pleasing finish. Use a spacer or coins to achieve consistent gaps.
Step 5: Water drainage
Proper water drainage is vital to avoid water infiltration between the boards. Angle the boards slightly downward to facilitate runoff. Additionally, apply a water-resistant barrier behind the cladding.
Step 6: Mitigate potential issues
To prevent warping or cupping, use seasoned and treated timber. Coat the boards with an exterior-grade finish. Doing so will add further protection against moisture and UV damage.
Fixing Feather Edge Cladding
Fixing feather edge cladding for exterior walls involves vertically overlapping tapered boards. Follow these steps to get you started:
Note: The first two steps are identical to T&G and shiplap timber cladding installation.
Step 1: Prepare the surface
Ensure the wall is clean, dry, and free from any existing cladding or debris. Repair any damages and apply a weather-resistant barrier or insulation if necessary.
Step 2: Attach the first board
Start at the bottom of the wall and fix the first board vertically using galvanised nails or screws. Position it flush against the edge of the wall, ensuring it is plumb.
Step 3: Overlap the boards
Place the next board vertically. Ensure they overlap with the previous one to create the feathered edge effect. The wider end must be positioned downwards for proper water runoff.
Step 4: Secure the boards
Nail or screw the boards securely to the studs. Avoid overdriving to prevent damage to the wood.
Step 5: Treat the edges
Treat the exposed edges of the boards with a wood preservative or paint. This will help enhance their durability and resist moisture.
Step 6: Ensure proper alignment
Regularly check for alignment and adjust as needed. Doing so will help achieve a seamless appearance and consistent overlap.
Round-up
By following the steps tailored to each cladding type, you can confidently undertake your fixing venture! Remember to prioritise safety and use the appropriate tools for a successful project.
If you have more inquiries, don’t hesitate to contact TimberX, and our helpful team will be happy to help!