Roofing battens may seem like a minor component of a roofing system. However, their role is crucial in providing structural support on the roof itself. Moreover, they ensure proper ventilation and protect your garden building from the elements.
Understanding their installation process is essential for the roof’s long-term performance. In this guide, we will take you through the steps from preparation to finishing touches.
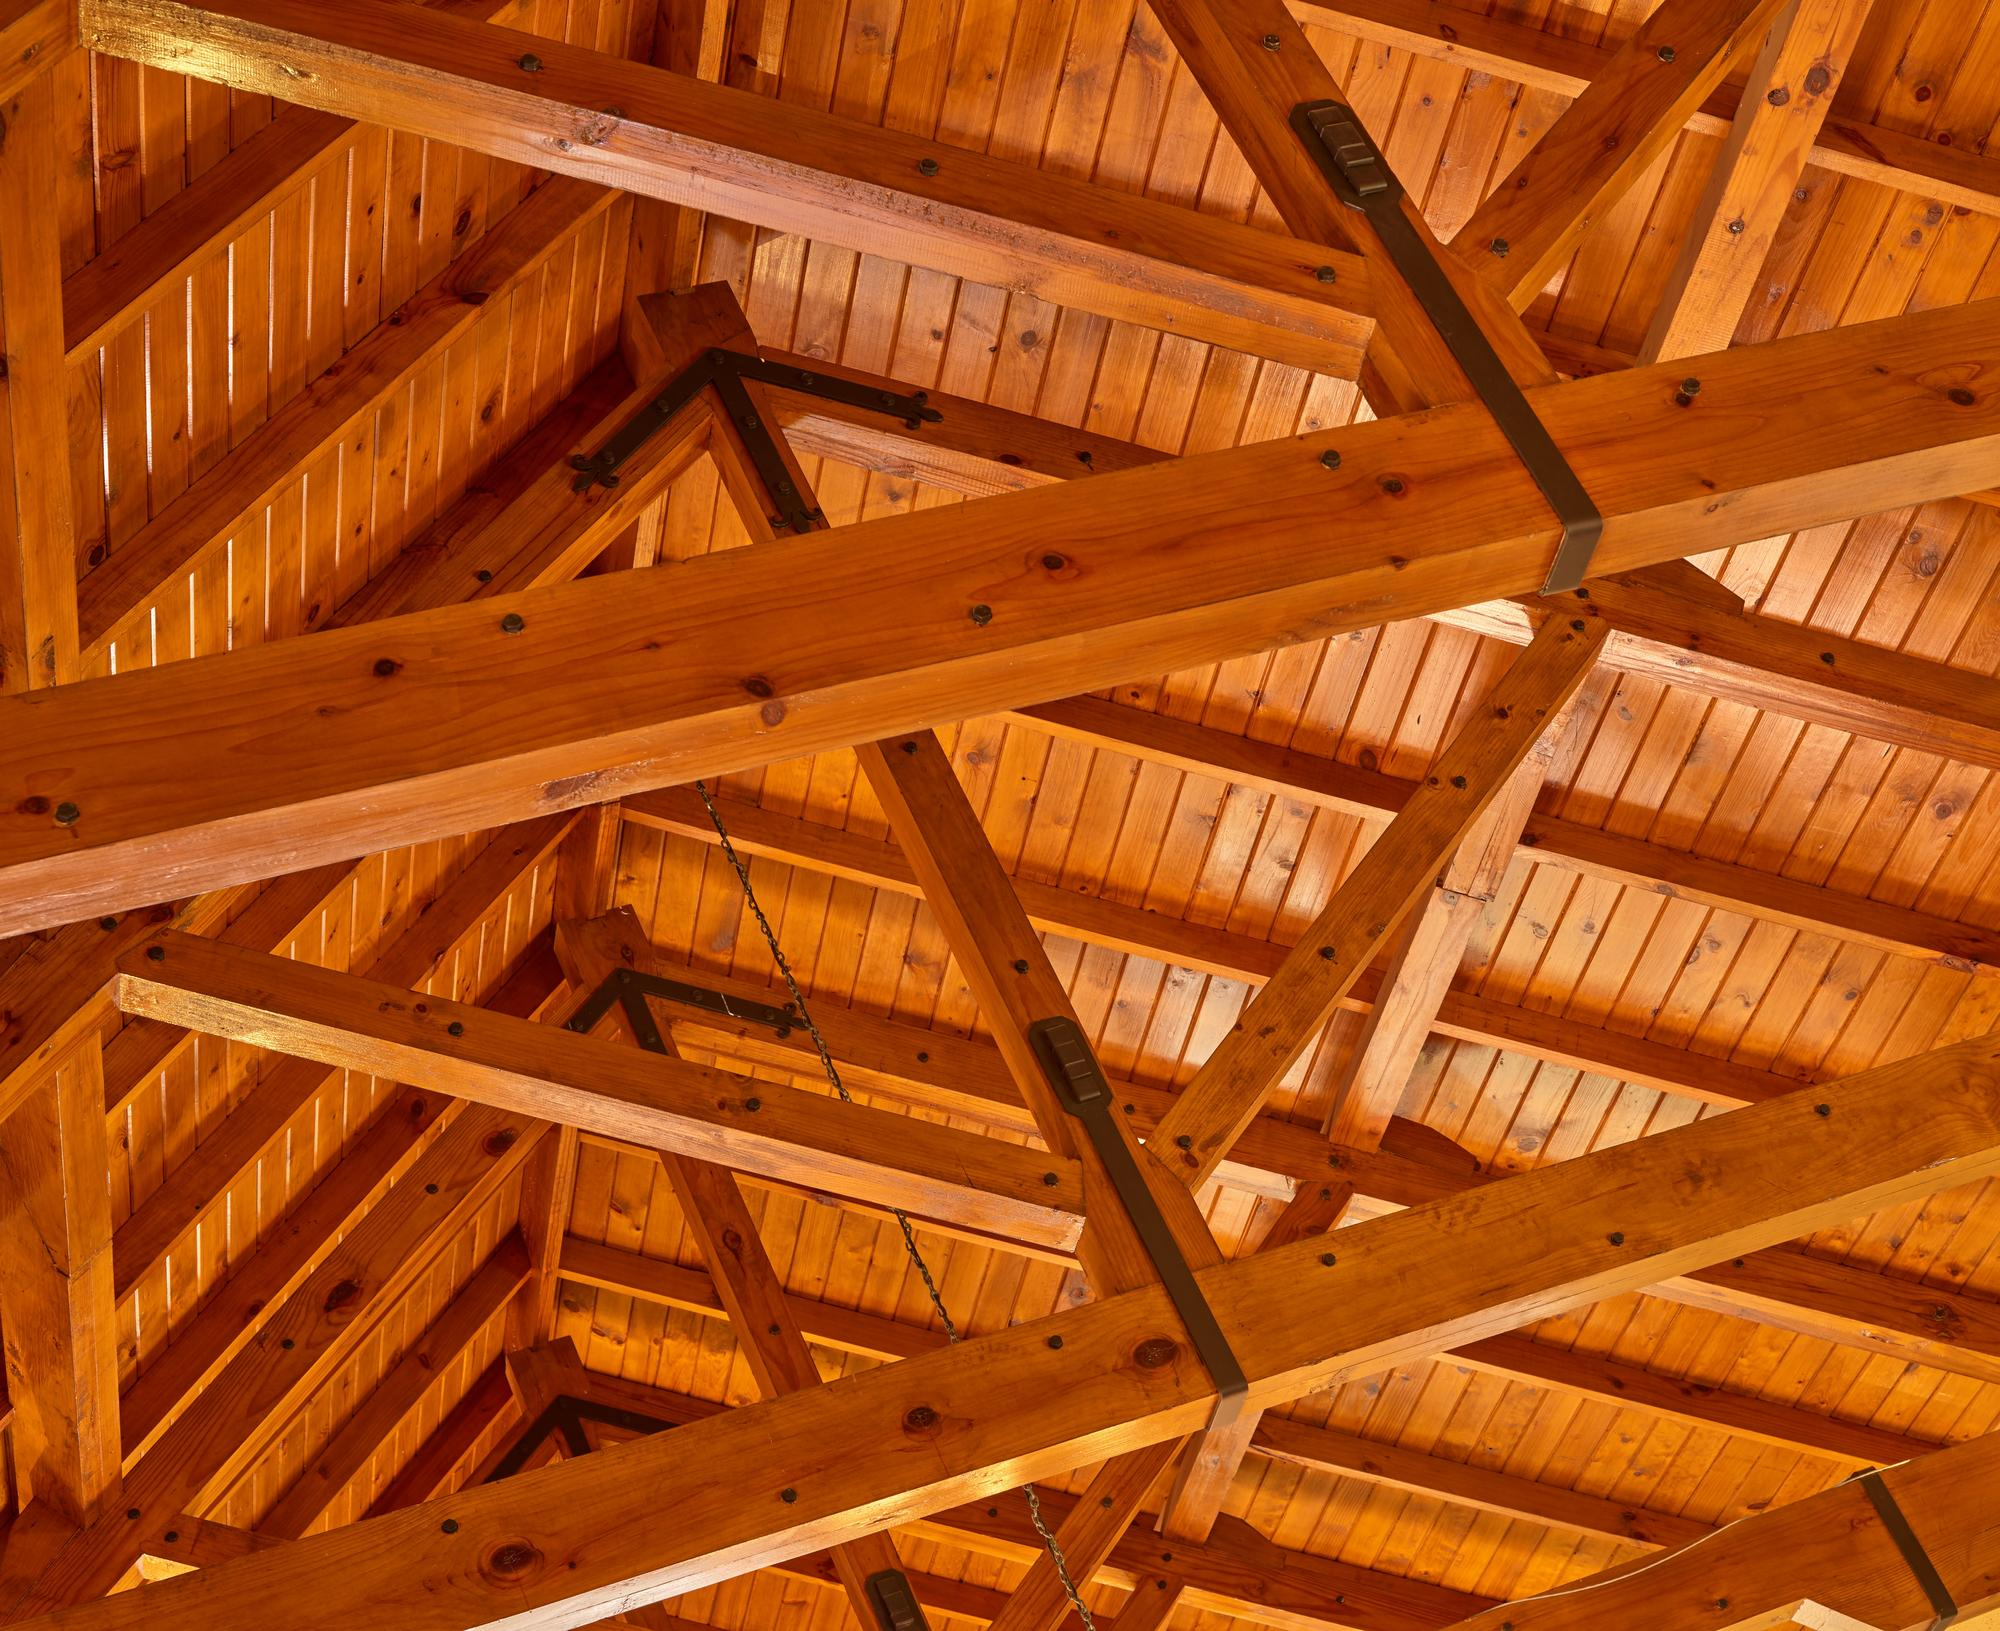
What Are Roofing Battens?
A roofing batten is a horizontal strip of material installed on the roof’s sheathing. They provide a solid base for the roof covering and enhance its performance.
Roofing battens can be made from various materials, including wood, metal, and plastic. Timber battens are popular for their natural aesthetic appeal and affordability. Metal battens offer exceptional strength and durability. Plastic battens are lightweight, resistant to rot and decay, and easy to install.
Each material has its own pros and cons. The choice will depend on factors like budget, climate, and specific roof requirements. Considering these will help you find the right batten for your roofing project.
Preparing for Installation
Before diving into the installation process, here are the steps you should take:
- Inspect the roof for any existing damage or weak areas. Ensure that the roof is stable. See to it that it’s capable of supporting the extra weight of the battens and roofing materials.
- Prepare the following items before starting the installation:
- Tape measure and chalk line for accurate measurements and markings.
- Hammer or nail gun for securing the battens.
- Nails, screws, or clips suitable for the type of battens and roof covering.
- Saw or snips for cutting battens to the desired length.
- Safety equipment such as gloves, goggles, and a hard hat.
- Prioritise safety throughout the installation process. Wear protective gear to prevent injuries from falling debris, sharp tools, or accidents. Ensure you have a stable ladder or scaffolding for safe access to the roof.
- Evaluate the roof structure to determine the appropriate spacing between battens. Factors such as local building codes will influence the recommended batten spacing. Consider manufacturer guidelines or consult with a roofing professional. They can determine the optimal spacing for your specific roof type and conditions.
Installation Process
Step 1: Removing existing roofing materials (if necessary)
Before installing new battens, remove old roofing materials such as shingles. Follow these steps for safe and effective removal:
- Wear gear like gloves and goggles for protection against debris and sharp objects. Use caution when walking on the roof.
- Begin removing the topmost layer of roofing materials, working your way downward. Use a pry bar or roofing shovel to lift and separate the materials. Be careful not to damage the underlying structure.
- Properly dispose of the old roofing materials according to local regulations. Clear the area of debris to create a clean and stable surface for the batten installation.
Step 2: Installing the first batten row
The first row of battens is crucial for establishing proper alignment and stability. Follow these steps:
- Measure and mark the desired distance from the roof edge. Account for any overhangs or gutter placements. Use a chalk line or straight edge to create a clear reference line.
- Ensure the batten spacing is consistent. Measure and mark the desired distance between each batten along the reference line. Accuracy is vital to provide a level surface for the roof covering.
- Place the first batten on the marked starting point, aligning it with the reference line. Use fasteners, such as nails or screws, to securely attach the batten to the roof. Make sure it remains level throughout the installation.
Step 3: Spacing and securing the next Battens
Maintaining consistent spacing and alignment between battens is essential for a sturdy roof. Follow these steps for subsequent batten installation:
- Determine batten spacing. Consider the weight of the roof covering, local building codes, and manufacturer guidelines. Ensure proper ventilation and evenly distribute loads.
- Repeat the process for installing the next batten rows. Align each batten with the marked reference line and maintain consistent spacing. Check for levelness and secure each batten firmly using the recommended fastening method.
Fastening techniques
Choose the right fastening method for the stability and durability of the battens. Consider the following techniques based on the type of battens used:
- Nails: Use roofing nails with large heads to provide secure attachment. Drive the nails through the batten and into the roof structure. Make sure they penetrate the sheathing or trusses.
- Screws: Use screws designed for roofing applications. Pre-drill holes in the battens to prevent splitting. Drive the screws through the batten and into the roof structure.
- Clips: Certain battens may come with pre-designed clips for fastening. Follow the manufacturer’s instructions for proper installation and secure the battens accordingly.
Ensure each fastener is installed tightly to prevent loosening to the roof system.
Finishing Touches
After installing the roofing battens, attend to a few final considerations:
- Carefully trim any protruding or excess batten material using a saw or snips. This step helps achieve a clean and uniform appearance. It ensures that the battens are flush with the roof’s surface.
- Regularly inspect your roof and battens for signs of damage. This includes loose or deteriorating battens, cracked roofing materials, or leaks. Address any issues as soon as possible to prevent further damage.
Tips for maintaining batten integrity and overall roof system:
- Regularly remove debris, leaves, and branches from the roof. This will help prevent water accumulation and potential damage to the battens.
- Maintain proper airflow in the attic or roof space to prevent moisture buildup.
- Consider having a professional roof inspection at regular intervals. They can identify any potential problems early on and ensure timely repairs.
- Adhere to the manufacturer’s instructions for cleaning and maintenance. They also provide the recommended lifespan of the battens and roof materials.
Round-up
By following the steps in this guide, you can ensure a solid foundation for your roof covering. If you’re looking for timber roofing battens, shop our range – available in various sizes and designs! For more information – including our blog on what are timber battens – explore the TimberX site.