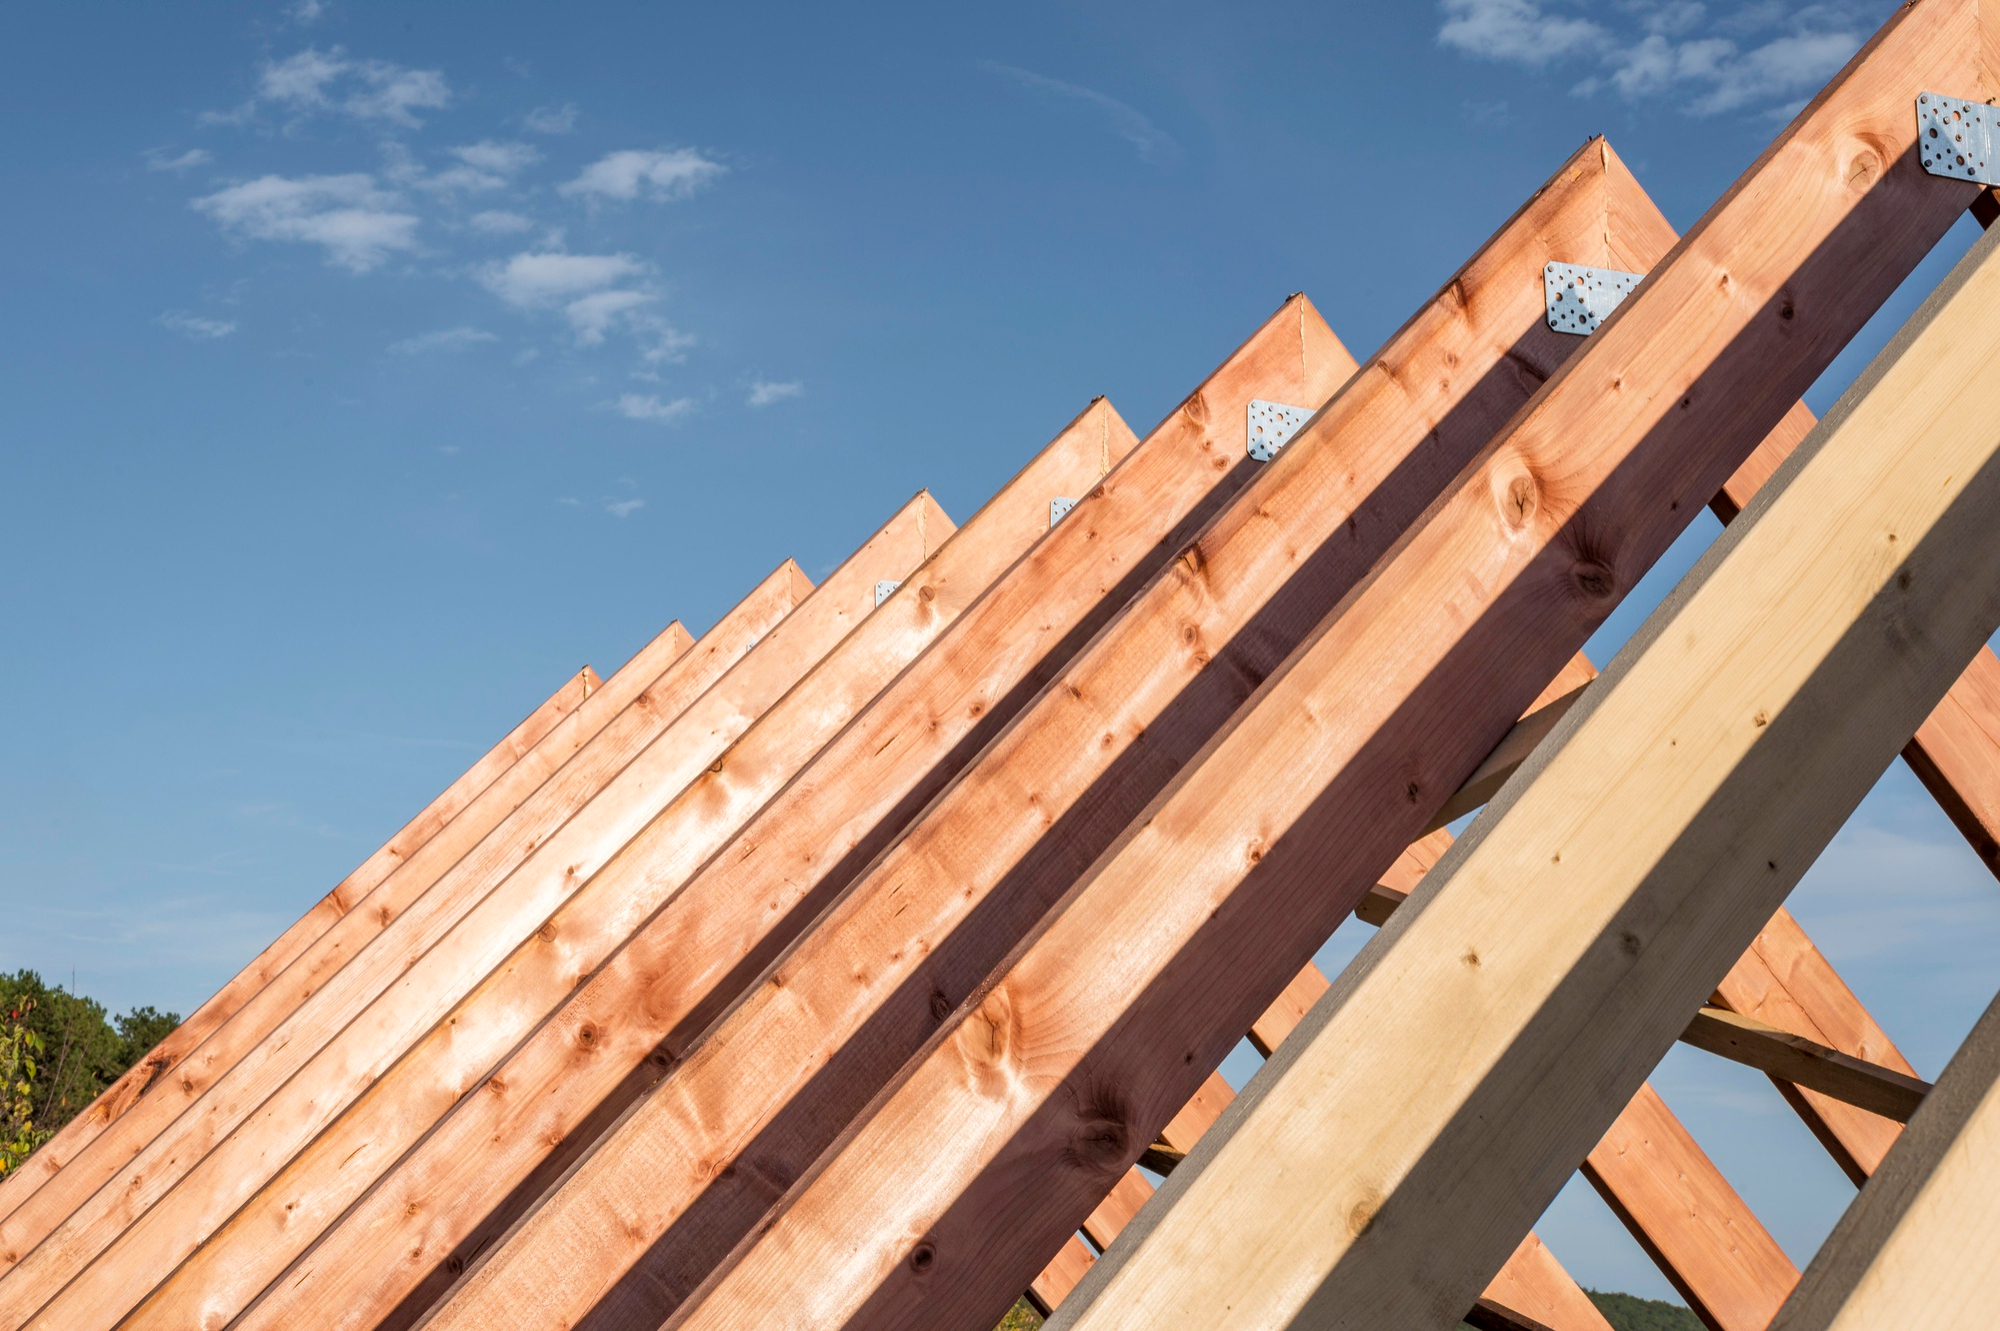
Put simply, roofing battens are timber beams that play an important role in a roof structure. In a roofing design, they provide the following:
- support
- stability
- ventilation
If you’re planning to install them for your next roofing project, you need to understand the process. In this blog, we will help you ensure a proper installation and a sturdy and reliable roof.
Roofing Battens
Roofing battens are horizontal strips of material laid in between the rafters. They are installed before the roofing material is applied, securing the roofing felt. Overall, a batten provides a fixed point for roofing materials to be attached.
Roofing battens serve multiple purposes in the roofing system, such as:
- Provides a solid and level surface for the roofing material to be attached. This ensures a smooth and uniform appearance.
- They create an air gap between the roof deck and the roofing material. This allows for proper ventilation and prevents moisture buildup.
- Distributes the weight of the roofing material evenly across the roof structure. This helps enhance its structural integrity.
Roofing battens are available in various materials, including wood, metal, and plastic. Timber battens are popular due to their affordability, availability, and ease of installation. Metal-made varieties offer durability and resistance to corrosion. Plastic types are lightweight, easy to handle, and have excellent moisture resistance.
When selecting the appropriate battens for your roof, there are several considerations, including:
- climate conditions
- type of roofing material being used
- the roof’s slope
- overall structural requirements
Choose battens that are compatible with your roofing material. Also, make sure it can withstand the anticipated weather conditions.
Roofing lath
Roofing laths are horizontal or diagonal strips installed directly onto the roofing battens. It provides additional support for the roofing material, creating a more secure attachment. Roofing laths can be made from the same materials as battens, such as wood, metal, or plastic.
The choice of roofing lath depends on factors such as the:
- desired level of support
- type of roofing material
- specific requirements of the roof structure
A batten and lath work together to create a solid and reliable roofing system. Understanding their relationship is crucial for a successful installation. And with the right battens, you can ensure a sturdy and long-lasting roof for your property.
Preparing for Installation
Gather the necessary tools and materials before starting the installation, which typically includes:
- measuring tape
- chalk line
- hammer or nail gun
- screws or nails
- level
- saw for cutting battens to size
Lastly, have your chosen battens, roofing lath, and any required fasteners readily available. Picking the right timber for roofing can be difficult, so choose carefully.
For safety, wear appropriate protective gear like gloves, goggles, and sturdy footwear. You also want to ensure a stable and secure working surface. Use ladders or scaffolding if necessary.
To calculate the number of battens needed, measure the length and width of the roof. Then, determine the desired spacing between battens. Divide the roof’s length by the spacing to find the number of rows. Next, divide the width by the batten’s width to find the number of battens per row. Multiply these two numbers to obtain the total required number of battens.
Step-by-Step Installation Guide
Step 1: Clearing and cleaning the roof
Clearing debris and cleaning the roof surface is crucial before installing roofing battens. Remove any loose shingles, nails, or other debris that could affect the batten’s stability. If there are existing roofing materials, such as old shingles, carefully remove them. Ensure no damage is caused to the underlying roof structure.
Step 2: Measuring and marking
Accurate measurements are essential for precise batten placement. Using a measuring tape, measure the length and width of the roof. Determine the desired spacing between battens based on the roofing material’s requirements. Mark the locations using a chalk line or a pencil, ensuring straight and parallel lines.
Step 3: Installing the first batten
Proper alignment of the first batten sets the foundation for the rest. Position the first batten along the marked line, aligning it with the roof’s edge. Secure it to the roof structure using nails or screws, ensuring it is level and straight. Use a level to double-check its alignment.
Step 4: Installing the next battens
Continue installing additional roof battens along the marked lines, maintaining consistent spacing. Use spacing blocks or other alignment guides to ensure accurate positioning. Secure each batten to the roof structure, making sure they are level and parallel to the first batten. Maintain uniform spacing between the battens throughout the installation.
Step 5: Securing and fastening the battens
To secure the battens, use appropriate fasteners like roofing nails or screws. This can depend on the roofing material and the recommendations of the manufacturer. Place the fasteners through the battens and into the roof structure. Space the fasteners evenly along the length of each batten. Ensure a secure and sturdy attachment.
Additional Considerations
Ventilation is crucial for a healthy roof. To add it to batten installation, use vented battens or create gaps between battens. Address roof slopes or irregularities by adjusting batten placement. Top tip: follow the roof contours.
Maintain roofing battens by inspecting for signs of damage, such as rot or warping. It’s recommended to replace any compromised battens as soon as possible. Moreover, regularly inspect the overall condition of the battens. Checking for loose fasteners or any structural issues, for instance. Keeping the battens intact will contribute to the roof’s longevity and performance.
Round-up
Installing wooden roofing battens is crucial in constructing a reliable and long-lasting roof. By following the steps in this blog, you can ensure a smooth and successful installation. Remember the importance of proper preparation, precise measurements, and secure fastening techniques.
TimberX roofing battens are a reliable choice for your roofing needs. To source high-quality roofing battens, shop our range of products.
